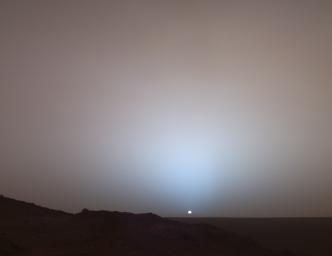
Cham wrote:This atmosphere rendering looks
much more convincing, now.
Fridger, at this "low" altitude, we should really feel the
3D volume of the mountains. The texture looks "flat",
painted on a smooth billard ball. You are too low. And
you need some FSAA (antialiasing) on your
horizon.
I disagree: the actual height of the camera was 205
km. The highest mountains are ~6 km here!
Think one moment what tiny fraction of the
observation altitude the Andes make up for in my 3
images. If I go really closer, my normal map gives
/breathtaking/ 3D views, in fact. But this was not the
issue HERE!
It's always good to do a back of the envelope check
before complaining...
I never (need) to use FSAA with my 1600x1200 19"
analog monitor. Since 19" is a bit too small for fitting in
1600x1200, there is a welcome "hardware AA effect"
due to somewhat overlapping pixels
smaller digital monitors/resolutions FSAA might surely
be needed. But the images were just for testing the
atmosphere...
Bye Fridger